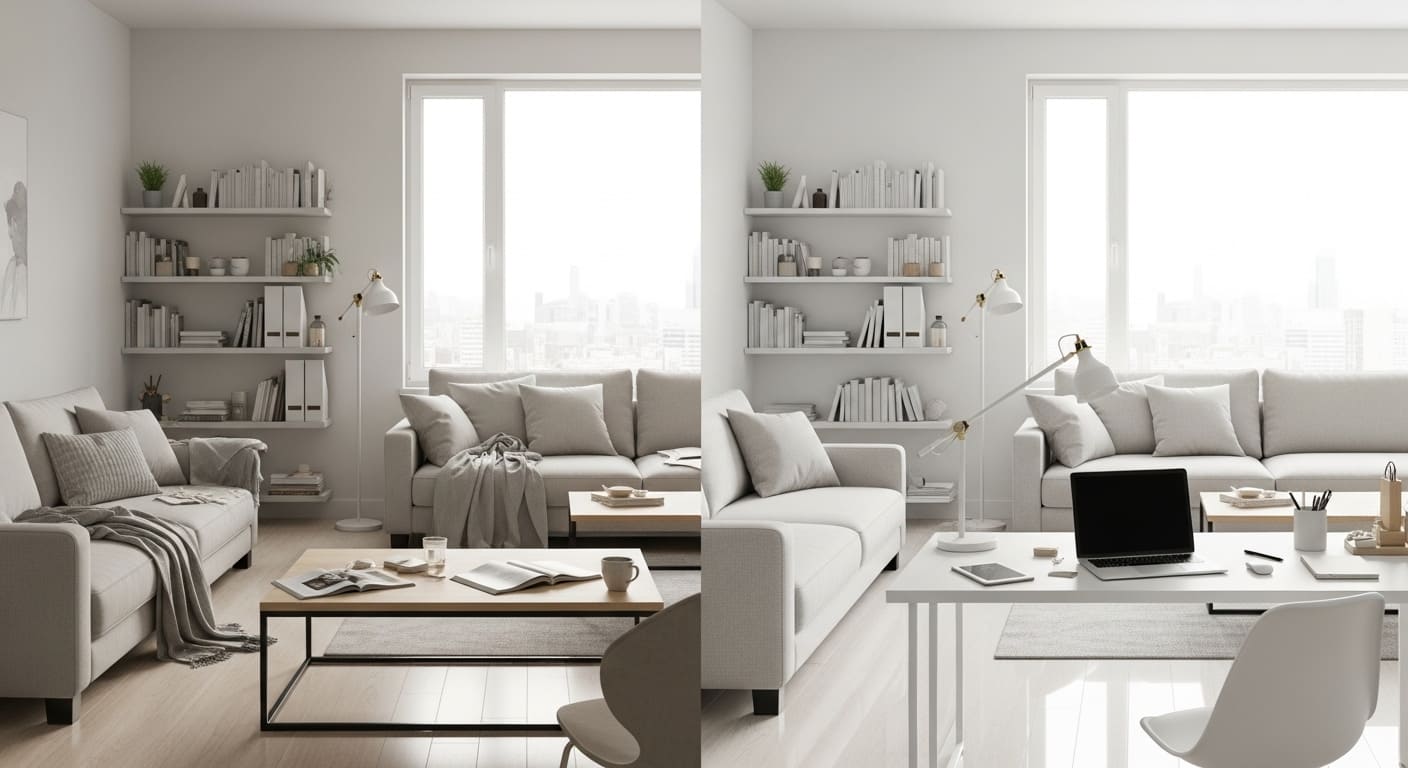
Most people who aren’t professional contractors but have attempted a DIY home improvement project know a single, frustrating truth: doing it yourself usually takes significantly more time and costs much more money than the internet would have you believe. It is easy to start a Saturday morning with high hopes, only to find yourself surrounded by half-finished baseboards and wet paint three days later. Fortunately, refreshing your living environment does not always require a massive budget or a week of your time. By focusing on high-impact, low-effort changes, you can revitalize your home without the stress of a long-term construction zone. Many people find joy in transforming outdated rooms into modern spaces through simple weekend tasks that offer immediate gratification and a fresh aesthetic. This approach allows you to maintain the momentum of your creativity without feeling overwhelmed by the scale of the work.
When you look around your home, you might see areas that feel stagnant or tired, but the thought of a full-scale renovation is enough to make anyone hesitate. The key to successful one-day projects is preparation and choosing tasks that target visual focal points. These small but mighty changes can alter the entire mood of a room, making it feel more intentional and curated. Whether you are dealing with a cramped apartment or a sprawling suburban house, the principles of design remain the same: color, texture, and light are your best tools.
Setting aside a dedicated block of time is essential for ensuring these projects actually get finished before the sun goes down. Before you pick up a paintbrush or a screwdriver, make sure you have all your materials gathered so you don’t lose hours running back and forth to the hardware store. While some people prefer to research professional advice at http://northeasthomeservice.com/ for their long-term renovation goals, these specific daily tasks are designed for the independent spirit. By focusing on one area at a time, you ensure that the quality of your work remains high while the time investment remains low.
Breathe New Life Into Your Furniture With Colorblocking
Giving your old furniture a second chance is one of the most rewarding parts of home styling because it saves money and keeps items out of the landfill. If you are working with a piece that could use a refresh but you don’t have the patience or the desire to paint the entire thing, a technique known as colorblocking is the perfect solution. Colorblocking involves painting an item in two distinct, contrasting shades without any blending or gradient between them.
This technique creates a sharp, modern look that can make an inexpensive piece of furniture look like a custom designer find. For instance, you might take a set of standard white wooden barstools and paint the bottom four inches of the legs in a subtle charcoal gray or a vibrant gold. This “dipped” effect adds an instant layer of sophistication and visual interest to your kitchen island or dining area. You should not be afraid to apply this logic to other items around the house, such as a bar cart, a bedroom dresser, or even the frame of a mirror.
The beauty of this project lies in its versatility and its speed. Because you are only painting a portion of the furniture, the prep work is minimal, and the drying time is much faster than a full overhaul. You simply need some high-quality painter’s tape to ensure your lines are perfectly straight and a small amount of leftover paint from a previous project. It is a straightforward way to add a pop of personality to a room without committing to a completely new color palette.
Craft Your Own Custom Wall Lighting
Wall lighting is often overlooked, yet it is one of the most effective ways to create a cozy and inviting atmosphere in any room. As far as quick, one-day activities go, creating your own wall sconces is surprisingly achievable, even for those who don’t consider themselves particularly “handy.” These fixtures can be made from a variety of materials you might already have around your workshop or garage.
Using scrap wood is an excellent way to create a rustic or industrial base for your lighting. You can take pieces of salvaged timber, sand them down to reveal the natural grain, and mount them directly to the wall to act as a bracket. For the light itself, recycled glass jars or vintage-style canisters can serve as beautiful diffusers for the bulbs. If you don’t have these items on hand, local flea markets or thrift shops are fantastic places to find unique glass pieces that add character to your project.
The aesthetic options for these DIY sconces are virtually endless. If you prefer a more contemporary look, you can use sleek, dark-stained wood and minimalist glass covers. If you are leaning toward a farmhouse or bohemian vibe, leaving the wood raw and using braided cord can enhance that organic feel. The most important thing is to ensure that the style reflects your own personal taste and complements the existing decor of your home.
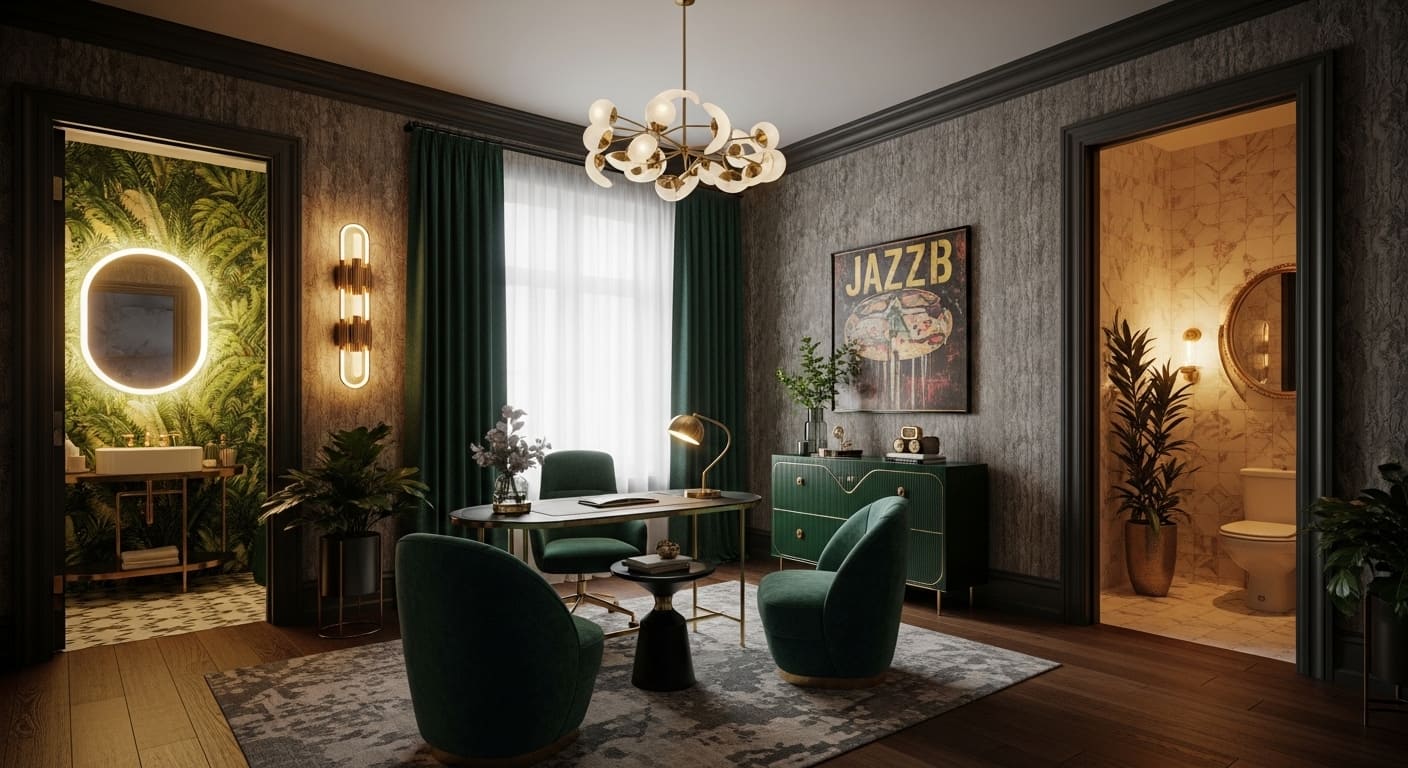
Create High Drama With a Bold Accent Wall
If you have been itching to change the color of a room but lack the forty-eight hours required to move all the furniture and paint four walls, an accent wall is your best friend. Choosing just one wall to highlight allows you to experiment with bold, saturated colors that might feel too overwhelming if applied to the entire space. To maximize the impact of this project, you should choose a wall that serves as a natural focal point, such as the one behind your bed or the wall framing your fireplace.
Many design experts suggest that you shouldn’t be afraid to go dark, even with colors like matte black or deep navy. These shades can provide a striking, modern backdrop that makes artwork and furniture “pop” in a way that white or beige simply cannot. A dark wall behind a television can also help the screen blend into the background when it is turned off, creating a much cleaner look for your living room.
When choosing your paint for this project, look for a matte finish that is both durable and washable. Matte paint is excellent for hiding minor imperfections in the wall surface, which is a common issue in older homes. Ideally, you should select a paint that includes a built-in primer to save you an extra step and ensure that you finish the project well before dinner time.
Revitalize a Small Space With Impactful Wallpaper
Adding wallpaper to a room used to be a daunting, multi-day task involving messy pastes and specialized tools, but modern materials have made it an easy afternoon project. Hanging wallpaper is one of the most effective ways to make a massive change in a minimal amount of time, especially if you focus on a smaller area. A powder room, an entryway, or even a small kitchen backsplash area can be completely transformed in just two or three hours.
In a small space, you can afford to be much more daring with your patterns and colors. A bold, oversized floral or a complex geometric design can bring a “wow” factor to a tiny bathroom that would be too intense for a large living room. The enclosed nature of these small rooms allows the wallpaper to act like a jewel box, creating an immersive experience for anyone who enters. It makes the home feel like it has gained a whole new room without any structural changes.
If you are particularly short on time, peel-and-stick options offer a high-quality finish without the need for traditional adhesives. This is also a great solution for those who are currently renting their homes but still want to personalize their space. By the time you finish trimming the final edge, you will find that the entire energy of the room has shifted, giving you a sense of accomplishment that lasts far longer than the time spent on the installation.
Incorporate Texture With Modern Wood Paneling
The phrase “wood paneling” often brings to mind the dark, cramped basements of decades past, but the current design trends have reimagined this material in a much more elegant way. Adding wood panels to a wall is a simple way to introduce warmth and architectural interest to a flat space. This trend is gaining popularity as more people look toward organic and minimalist designs that prioritize natural textures.
These panels are remarkably easy to install and can be customized to fit your specific vision. You can choose from various wood species, finishes, and colors to match your floor or furniture. The installation process usually involves simple adhesives or small finishing nails, making it a project that requires very few specialized tools. Furthermore, you don’t have to commit to an entire wall to see the benefits of this material.
Slatted wood panels can be used creatively to build custom headboards, stylish room dividers, or even pieces of three-dimensional wall art. By installing them vertically, you can make your ceilings appear higher, while a horizontal installation can make a narrow room feel wider. This project is a perfect example of how adding a bit of depth and texture can make a home feel more luxurious and well-designed in less than a day’s work.