Everything You Need to Know About a DIY Bathroom Remodel
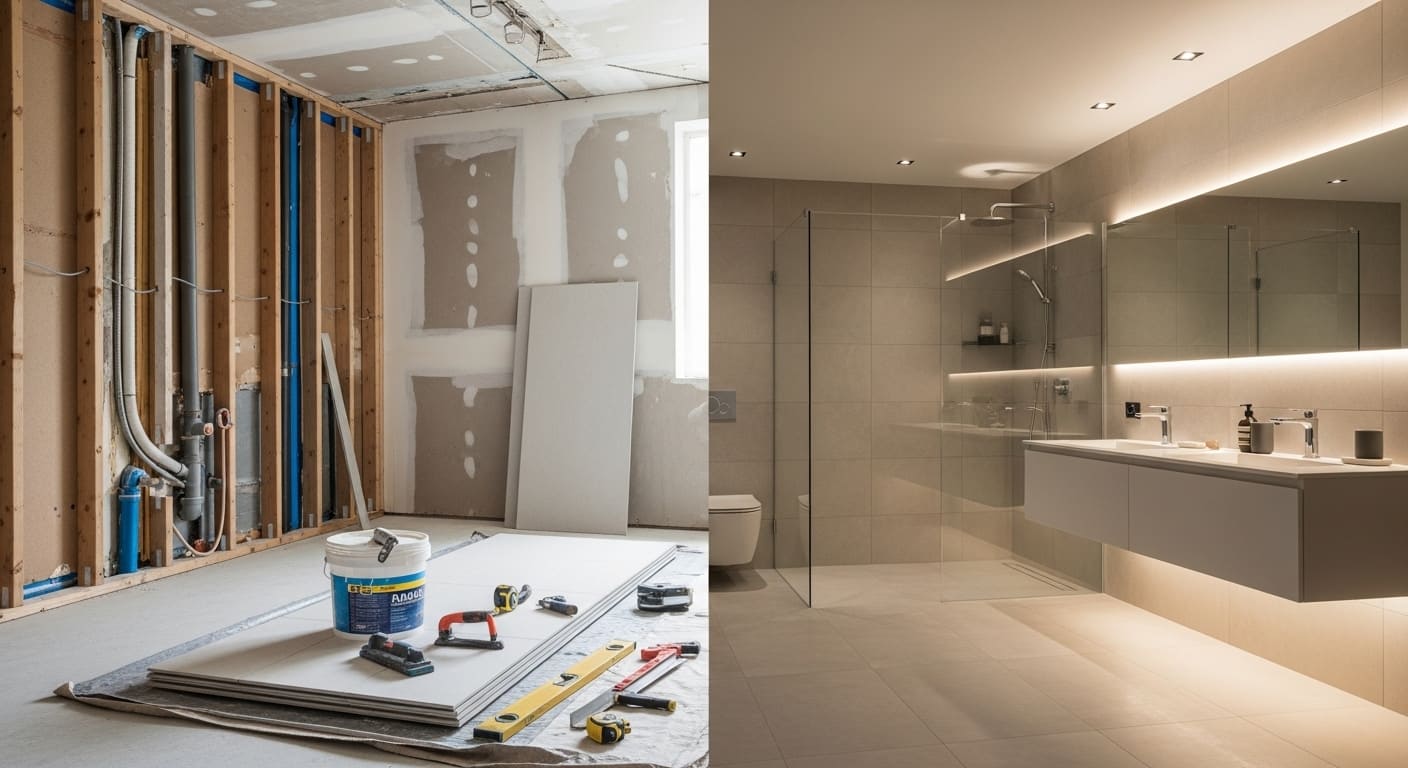
The bathroom is often the smallest room in the house, yet it often carries the greatest weight in terms of renovation complexity and overall home value. Embarking on a remodel is a journey that blends high-stakes engineering with artistic design, requiring a homeowner to wear the hats of a project manager, a designer, and occasionally, a demolition expert. It is easy to look at a sleek, modern bathroom in a magazine and imagine a quick weekend transformation. Still, the reality involves a meticulous dance of plumbing, electrical work, and moisture management. Whether you are simply updating the guest bathroom fixtures or embarking on a full-scale demolition of the entire space, understanding the proper sequence of operations is essential for a successful outcome. This preparation ensures that every dollar spent translates into actual equity and long-term satisfaction rather than a series of expensive mistakes.
A successful remodel begins long before the first tile is chipped away from the wall. You must start by establishing a rigid budget that reflects the actual costs of materials and professional labor for the tasks you cannot handle yourself. Most experts suggest that once you have calculated your expected costs, you should immediately add a contingency buffer of at least fifteen to twenty percent. This extra cushion is not for upgrades; it is for the “unseen” problems that hide behind the drywall of every bathroom, such as rotting subfloors, outdated galvanized pipes, or ancient wiring that no longer meets modern safety codes.
Planning the layout is perhaps the most critical stage of the entire process because it dictates the final price tag more than any other factor. Moving a toilet just a few inches or relocating a shower drain can require cutting into floor joists and rerouting heavy stacks, which can instantly triple your plumbing expenses. When looking for inspiration or high-quality components, many homeowners find that consulting new hope cabinets, baths & kitchens by charles weiler newtown pa provides the necessary insight to keep the project on track and within a realistic scope. Keeping the existing footprint of your fixtures is the most effective way to keep your budget under control while still achieving a completely refreshed aesthetic.
The Strategy Behind a Functional Layout
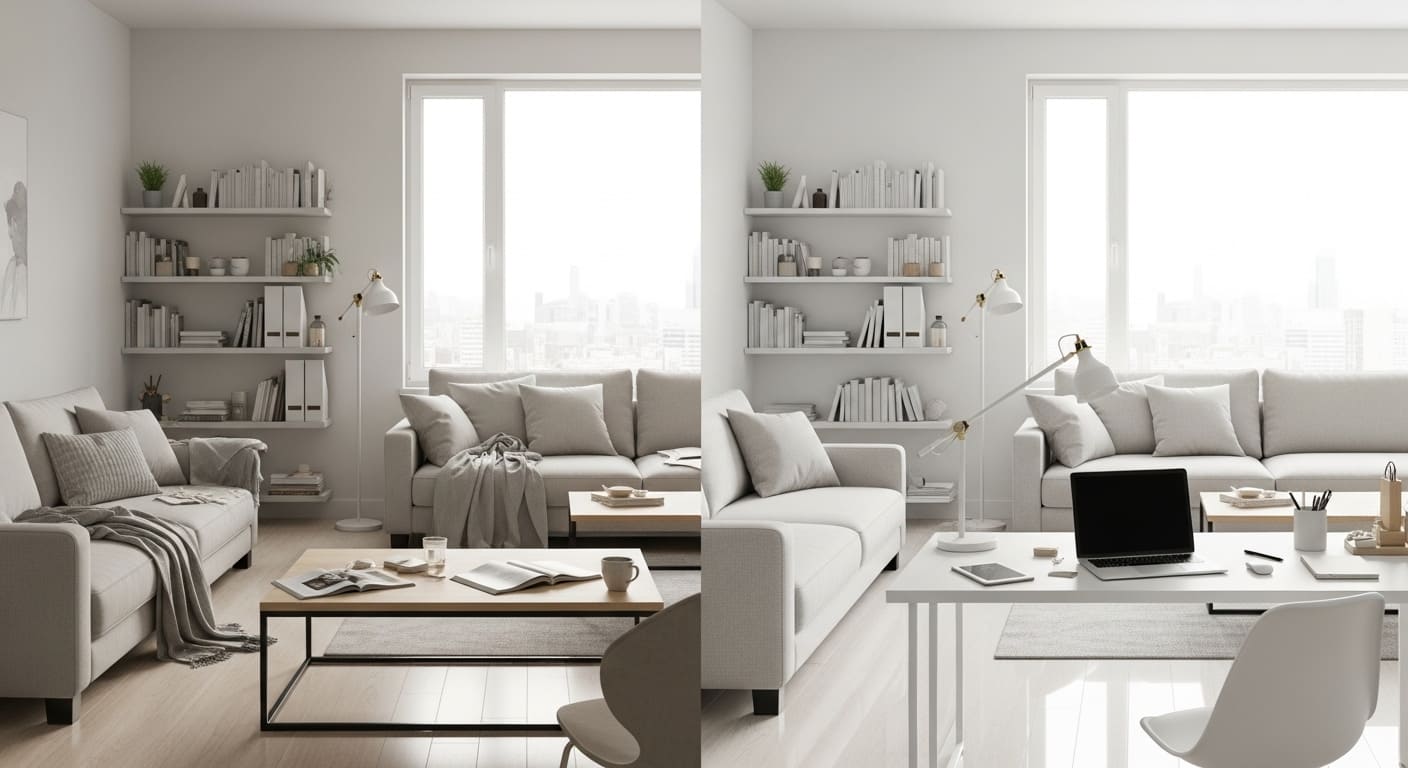
Deciding where everything goes requires a balance between how the room looks and how it actually functions during a busy morning routine. While it might be tempting to install a massive walk-in shower that looks like a high-end spa, you must consider whether that choice leaves you enough room for essential storage. A common regret among DIYers is the loss of a linen closet or vanity space in favor of a larger bathing area, leaving them with no place to store towels or daily toiletries.
Functionality also extends to the “clearance” of the room. This refers to the amount of space between the front of the toilet and the vanity, or the swing of the bathroom door versus the shower glass. A beautiful bathroom quickly becomes a source of daily frustration if you are constantly bumping your elbows or if two people cannot stand at the sink simultaneously. Before any permanent changes are made, it is helpful to use painter’s tape on the floor to mark out the exact dimensions of your new fixtures to see how they affect the flow of the room.
Selecting Materials That Stand the Test of Time
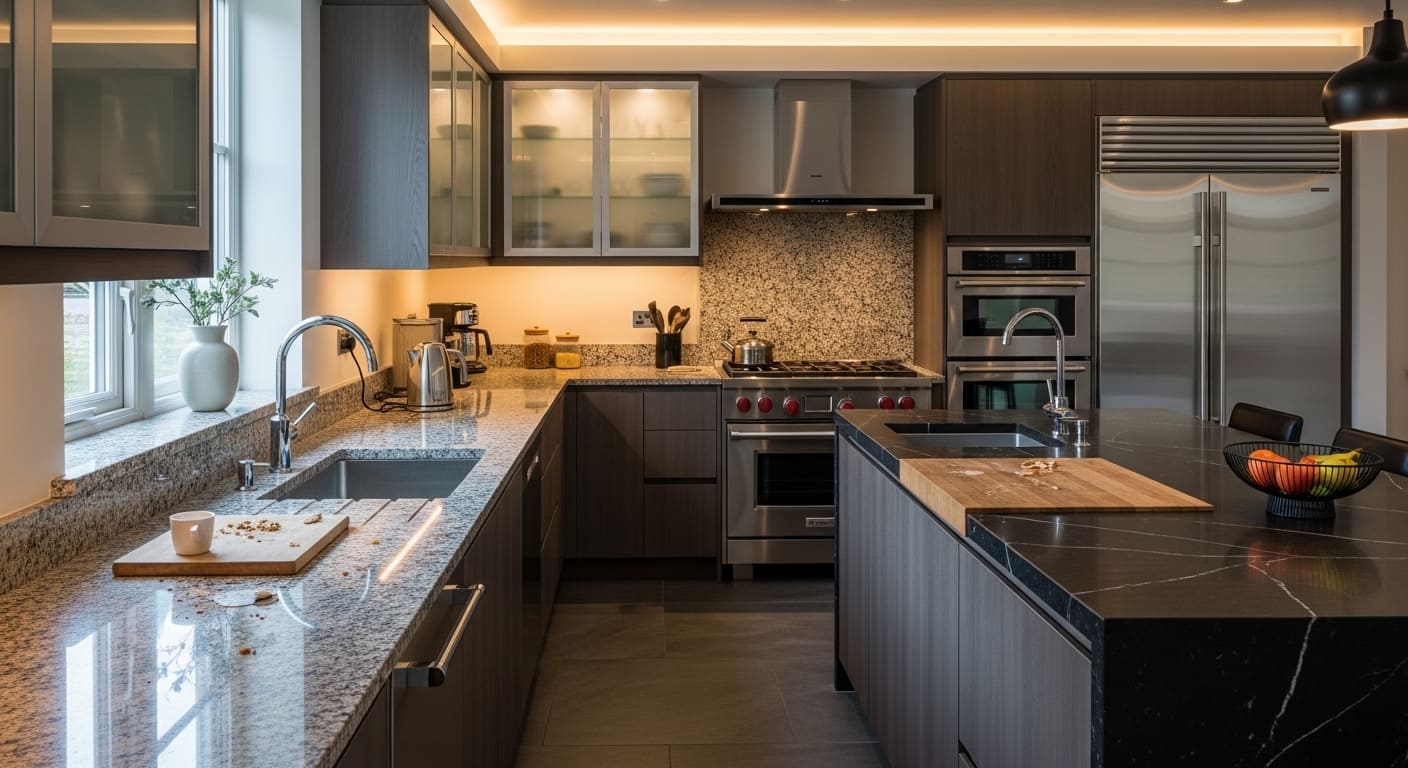
Choosing the right materials for a bathroom is about more than just finding a color palette that matches your personal style. Because the bathroom is a high-moisture environment, every surface must be non-porous and resistant to the growth of mold and mildew. Porcelain tile is often the gold standard for DIY projects because it is incredibly dense, nearly waterproof, and available in an endless array of designs that can mimic natural stone or even wood planks.
While natural marble is stunning, it is also porous and requires regular sealing to prevent staining from soaps and oils. For a homeowner looking for a lower-maintenance lifestyle, porcelain provides a similar look without the upkeep. Furthermore, the size of the tile you choose matters just as much as the material. Larger tiles mean fewer grout lines, which significantly reduces the amount of scrubbing you will have to do in the future. Grout is the most vulnerable part of any tile installation, so minimizing its presence is a smart long-term strategy.
Managing the Technical Requirements of the Build
One of the biggest hurdles in a DIY remodel is the temptation to skip the formal permitting process to save time or money. However, a bathroom involves complex interactions between water and electricity, making it a high-risk area if the work is not performed to professional standards. Obtaining the proper permits ensures that your work is inspected by a third party, which protects your family’s safety and ensures there are no issues when it comes time to sell your home.
Ventilation is another technical aspect that is frequently overlooked but is absolutely vital to the longevity of your renovation. A standard bathroom fan is often undersized for the volume of the room, leading to steam buildup that eventually peels paint and encourages mold. When selecting an exhaust fan, look for one that is rated for the square footage of your space and consider models with built-in humidity sensors. These fans automatically turn on when they detect moisture in the air, ensuring that the room is properly dried out even if you forget to flip the switch.
Creating a Layered Lighting Environment
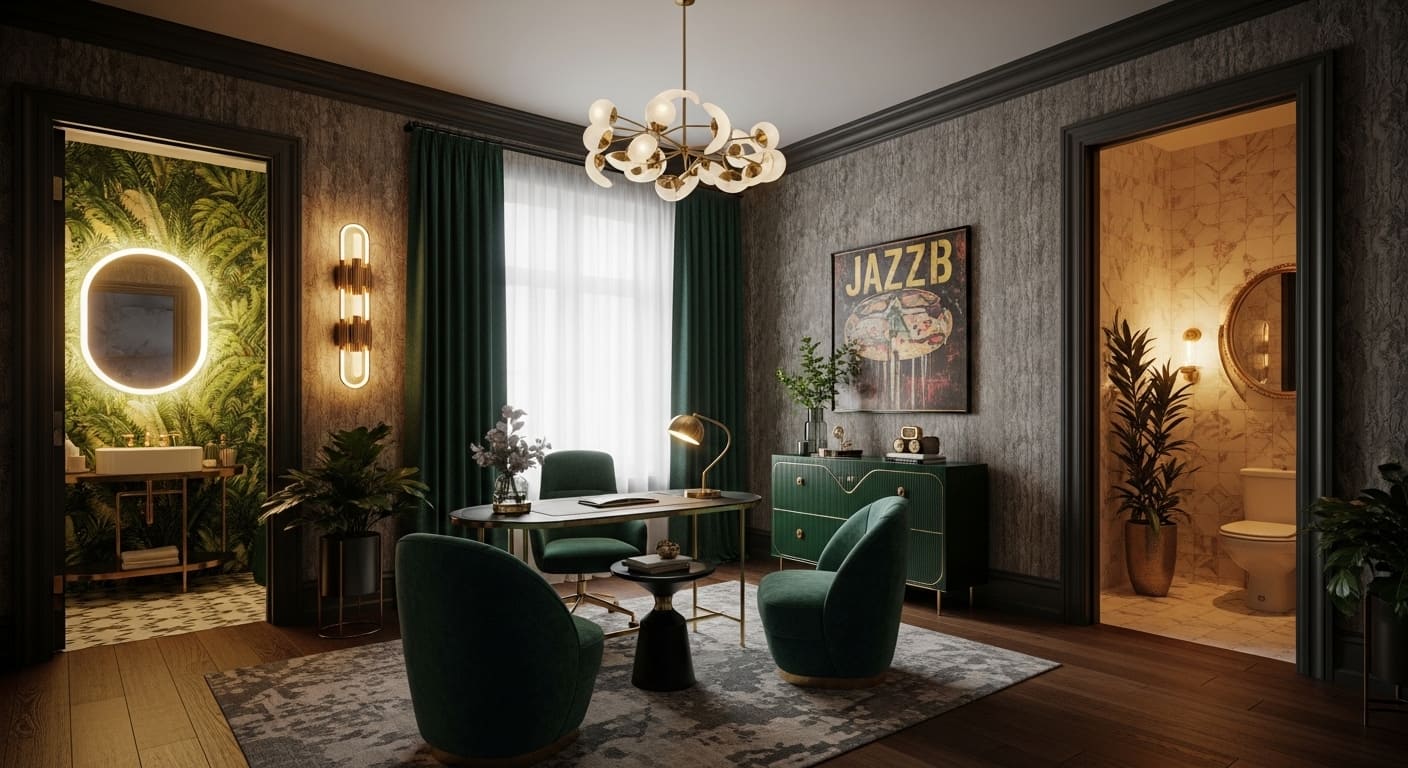
Lighting is the secret ingredient that transforms a basic functional bathroom into a luxurious sanctuary. Many older bathrooms rely on a single, harsh overhead light that creates deep shadows on the face, making tasks like shaving or applying makeup difficult. A modern approach involves “layering” the light by combining ambient, task, and accent lighting to create a balanced glow across the entire room.
Start with recessed lighting in the ceiling for general illumination, then add wall-mounted sconces on either side of the mirror at eye level. This side-lighting eliminates the shadows caused by overhead fixtures and provides the most flattering light for daily grooming. If your budget allows, adding a dimmable waterproof light inside the shower enclosure can make the space feel much larger and more high-end. These small details in the electrical plan can make a massive difference in how the finished room feels during different times of the day.
The Final Touches and Long-Term Value
As you reach the end of your remodel, the focus shifts from structural integrity to the cosmetic details that define the room’s character. Hardware, such as drawer pulls, towel bars, and faucet handles, acts as the “jewelry” of the bathroom. While it might be tempting to choose the most current trend, such as ultra-matte black or bright gold, consider how these finishes will age over the next decade. Classic finishes like polished nickel or brushed chrome tend to have more staying power and appeal to a broader range of future buyers.
Ultimately, a DIY bathroom remodel is an exercise in patience and precision. It requires you to be honest about your skill level and to know when to call in a professional for the heavy lifting. By focusing on a solid layout, moisture-resistant materials, and proper technical execution, you can create a space that not only looks professional but also stands up to the rigors of daily use for years to come. The pride of standing in a room you helped build is a unique reward, provided you have taken the time to do the job correctly from the ground up.